
tinker-tcp-tunnel
A TCP tunnel plugin for TINKER, for temporarily exposing local TCP ports through a public relay.
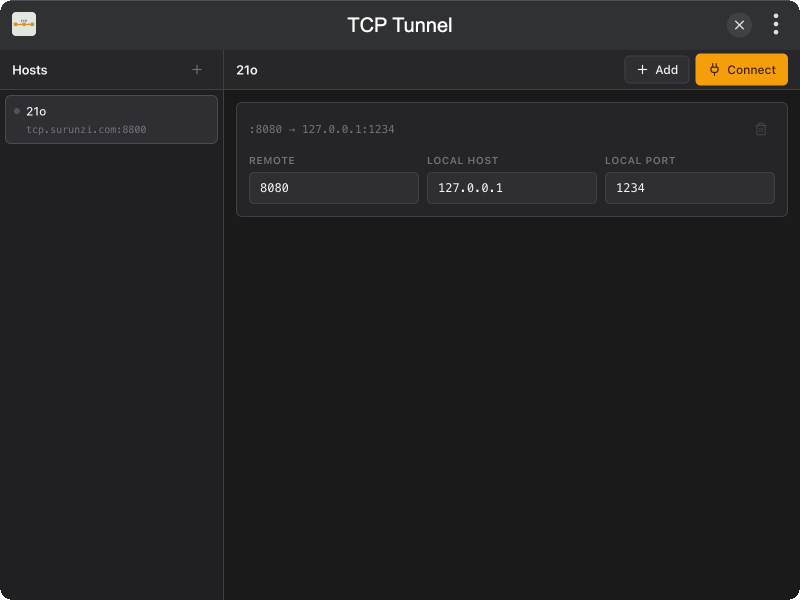
Features
- Host list with per-host connect / disconnect and independent status
- Port mappings as separate cards (remote port → local host:port)
- Relay CLI (
tinker-tcp-tunnel serve) packaged in the same npm package - Required token auth on the server
- Safe defaults: required token, sensitive ports blocked, max 10 mappings per client
Installation
Download and install TINKER, then run:
bash
npm i -g tinker-tcp-tunnelUsage
Plugin (client)
- Open TCP Tunnel in Tinker
- Add a relay host (address, control port, token)
- Add port mappings for that host
- Click Connect
Config is stored in localStorage via licia/LocalStore.
Server (relay)
The relay must run on a machine with a public IP (for example a VPS). The control port and mapped ports both bind to 0.0.0.0 by default.
On the VPS:
bash
tinker-tcp-tunnel serve -p 7700 -t my-secret--token is required. Defaults:
- Control listen:
0.0.0.0 - Mapped ports:
0.0.0.0(change with--proxy-bind) - Block privileged ports (
< 1024) and common sensitive ports (MySQL, RDP, Redis, …) - At most 10 mapped ports per client
- Control port itself cannot be mapped
In the plugin, set the relay host to the server's public IP (or tcp.surunzi.com), port 7700, and the same token. Open the control port and the mapped remote ports in the firewall.
Optional flags:
bash
tinker-tcp-tunnel serve -p 7700 -t my-secret --max-ports 20
tinker-tcp-tunnel serve -p 7700 -t my-secret --allow-sensitive
tinker-tcp-tunnel serve -p 7700 -t my-secret --proxy-bind 0.0.0.0
bash
tinker-tcp-tunnel serve --helpIntended for temporary access to local services, not long-running public exposure.